How to Set Up the Dot Crosshair in Valorant
Dot vs. Plus Crosshair: What’s the Difference?
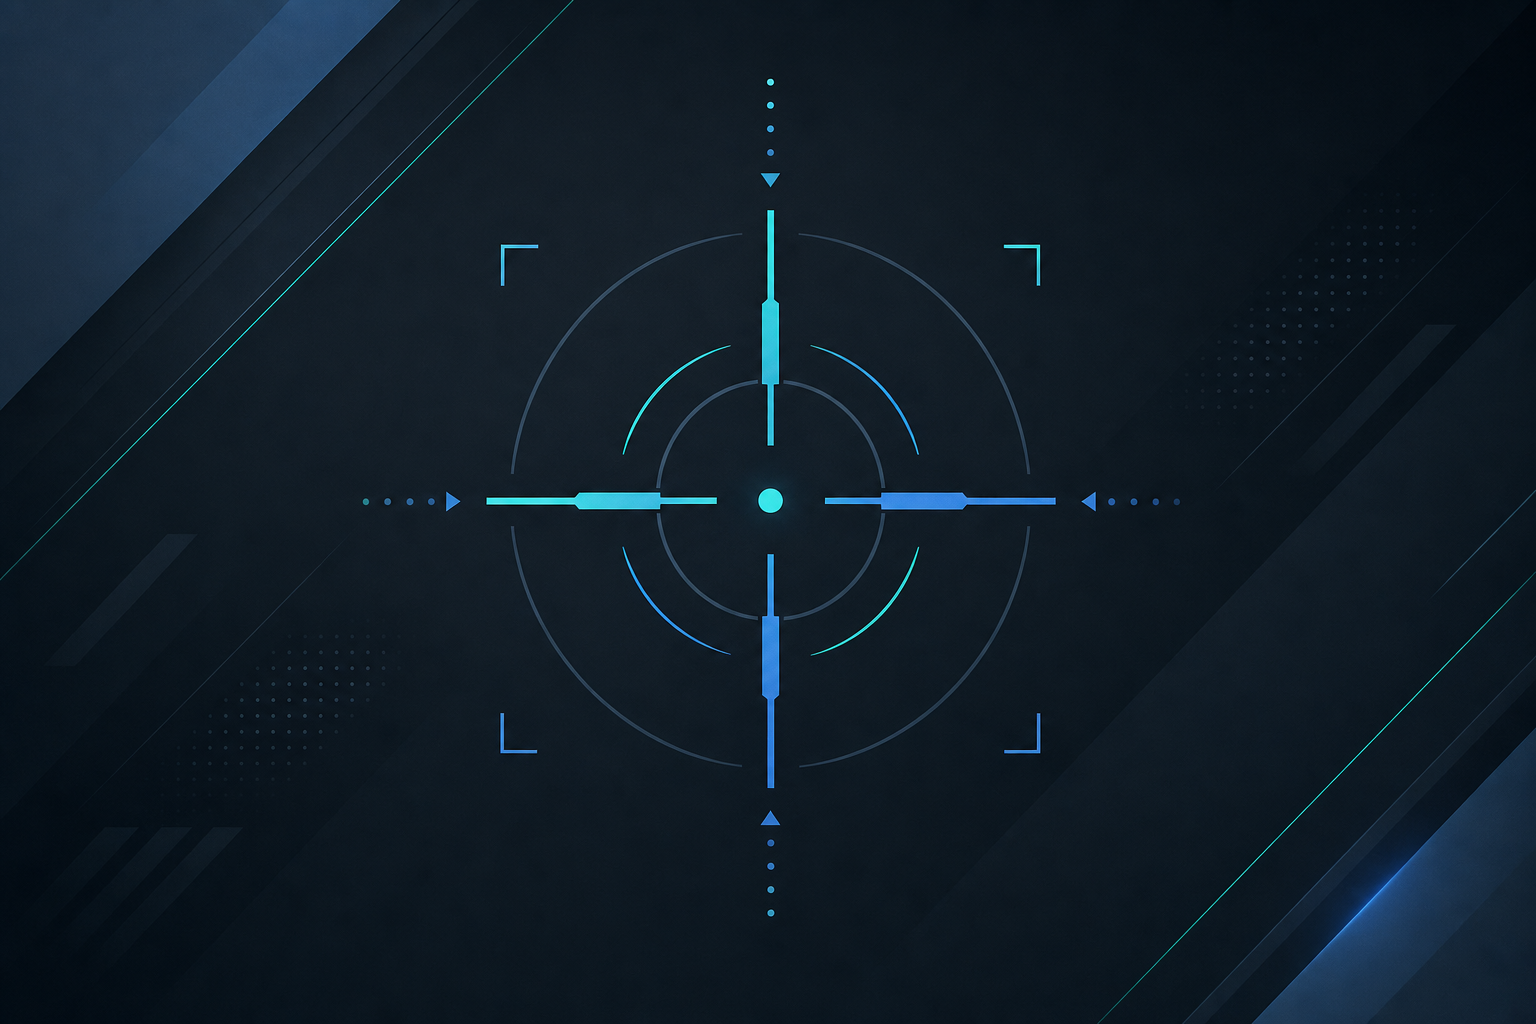
The “plus” crosshair is what most new players start with—a familiar shape made of four little lines crossing in the middle. It gives you more visual guidance showing your bullet spread and is handy for tracking moving targets.
Plus Crosshair Overview:
- Shape: Four lines crossing (like a +)
- Common settings: White color, outlines on, center dot off
- Pros: Good for tracking sprays and angles, more visually informative
- Cons: Can feel bulky or distracting on tight screen space
Dot Crosshair Overview:
- Shape: Single round dot, no lines
- Common settings: Cyan or bright color, outlines on for visibility
- Pros: Minimal screen clutter, helps focus on exact pixel to hit, great for tap shooting
- Cons: Can be hard to spot on bright backgrounds unless outlined
Here’s a quick stat comparison:
| Aspect | Plus Crosshair | Dot Crosshair |
|---|---|---|
| Visual Clarity | Clear “gap” helps shot timing | Minimal, less cluttered |
| Target Tracking | Easier for spray control | Focused on pinpoint accuracy |
| Map/Background Fit | Works well across most maps | Needs color adjustments on some maps |
Step-by-Step: How to Set Up a Dot Crosshair in Valorant
Manual Setup
Want to create your own dot from scratch? No problem—it’s easy!
- Open Valorant and hit Settings (⚙️).
- Navigate to the Crosshair tab, then to Primary.
- Turn Show Inner Lines off (this removes the plus lines).
- Turn Show Outer Lines off as well.
- Toggle Outlines off, then turn on the Center Dot.
- Set the Center Dot Opacity to 1 so it’s fully visible.
- Adjust Center Dot Thickness between 2-3 to make it easier to spot.
- Pick a bright, contrasting color like cyan, white, red, or green. Cyan is popular because it pops well on most maps.
This gives you a clean, unobtrusive dot that helps you line up shots without distractions.
Import Codes: Quick Copy-Paste Dot Crosshairs
If you want to skip manual tinkering, just import one of these community-tested dot crosshair codes straight in-game:
- Cyan Dot (most popular minimalist choice):
0;P;c;5;o;0.25;d;1;z;3;0b;0;1b;0
- White Basic Dot with Outline (good for visibility):
0;p;0;c;1;s;1;P;u;000000FF;o;1;d;1;f;0;s;0;m;1;0b;0;1b;0;A;h;0;d;1;z;3;0b;0;1b;0;S;c;4;s;0.664;o;1
- Thick Cyan Dot (for easier spotting):
0;p;0;c;5;u;000000FF;t;2;o;1;d;1;f;0;s;0;m;1;0b;0;1b;0;A;h;0;d;1;z;3;0b;0;1b;0;S;c;4;s;0.664;o;1
To import:
- Copy the code of your choice.
- In Valorant, open Settings > Crosshair.
- Click the downward arrow next to your Crosshair Profile and select Import.
- Paste the code and confirm. Boom—you’re ready to aim with a neat dot.
Pro Example: Boaster’s Dot Crosshair Setup
If you want to take inspiration from the pros, check out Boaster (Team Liquid), who uses a minimal cyan dot crosshair. His setup focuses on low distraction and clean visuals, perfect for headshot precision.
Boaster’s import code:
0;P;c;5;o;1;d;1;z;4;0l;0;0o;2;0a;1;0f;0;1b;0
It’s basically a thin outlined dot, aiming to stay visible but not bulky. Give it a try if you want a pro-tested minimalist reticle.
Tips for Using a Dot Crosshair Like a Boss
- Practice in the Range first to get used to the lack of lines. The stationary bots are perfect for timing your headshots precisely.
- Switch your dot color depending on the map background. For example, red or green can stand out better on bright maps like Icebox.
- Turn off bloom and firing error animations in the crosshair settings to avoid distractions.
- Keep a couple of crosshair profiles saved. Sometimes, switching between plus and dot mid-session helps—try typing
/ccin chat to copy a teammate’s crosshair on the fly. - Pair your dot crosshair with a sensitivity you’re comfortable with. Many pros combine minimal crosshairs and low sensitivity for consistency.
Quick Recap
- Dot crosshairs = clean, focused aim with minimal clutter.
- Best colors: cyan, white, red, or green—outline helps with visibility.
- Move lines off, enable center dot, tweak thickness & opacity.
- Pro players like Boaster use variants of the dot for precision.
- Practice and adjust per map for the best feel.
If you want to explore crosshair ideas further, check out our Crosshair Generator tool to customize your perfect reticle, or browse pro players’ profiles for inspiration.
Switching to a dot crosshair might seem tiny, but it can seriously improve your aim and game feel. Give it a shot and watch your headshots start landing with laser focus!
Happy fragging!
Sources: